Let us improve your website security and performance!
Review our available services and improve your online presence.

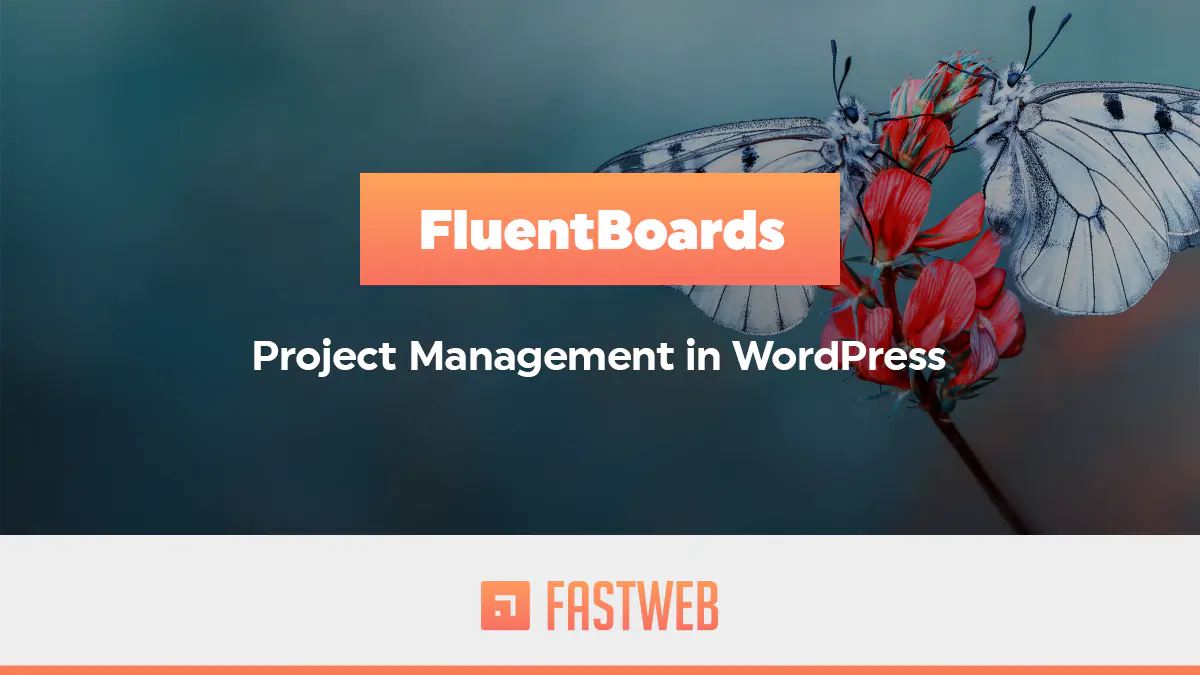
FluentBoards is an easy-to-use yet highly effective WordPress plugin designed for seamless collaborative project management. This innovative tool empowers individuals and teams to efficiently handle tasks, workflows, and projects while providing clear goal visualization and detailed progress tracking. In this review, we’ll dive into its key features and explore the advantages it brings to the table.
FluentBoards is an all-in-one solution crafted to enhance:
Let’s explore why FluentBoards is a game-changer for project management within WordPress.
FluentBoards is included for free in our WordPress Maintenance Plan
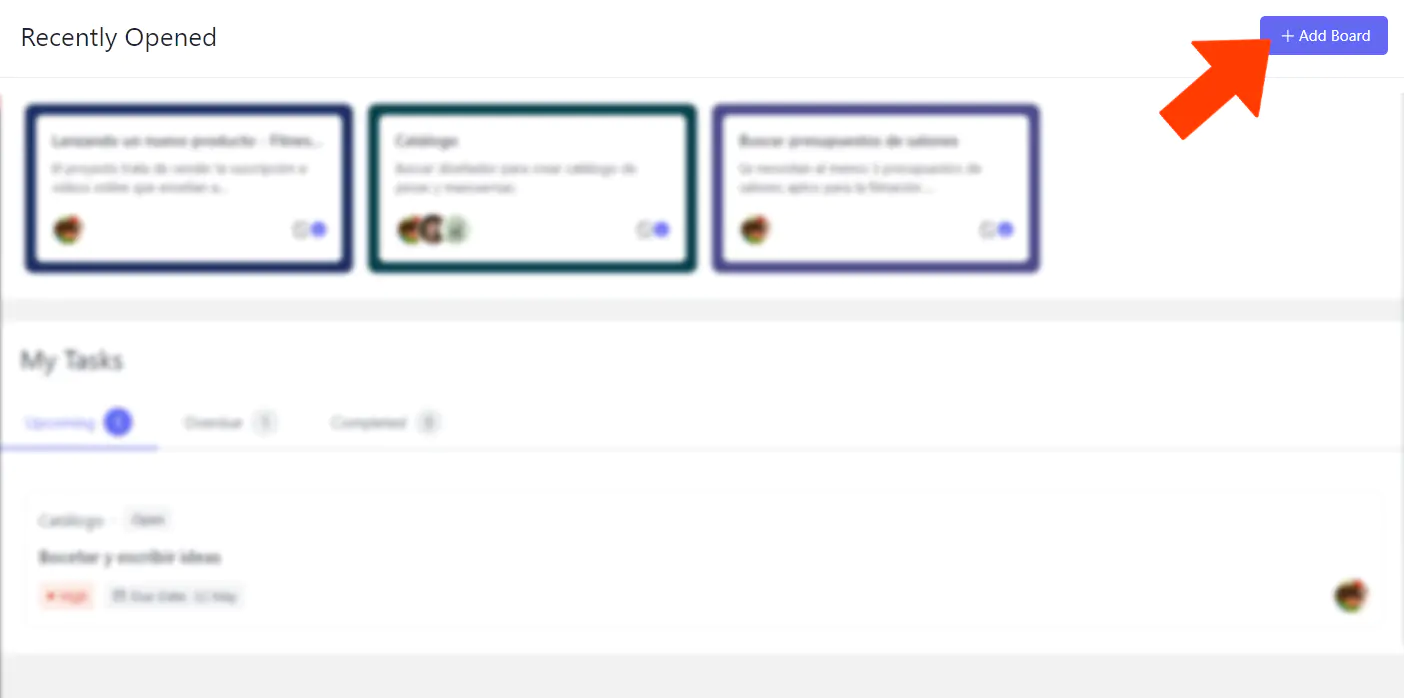
Let’s take a look at the FluentBoards Dashboard and then dive into how to create Boards later on.
In the screenshot below, we’ve already set up different project and goal boards and assigned team members (including ourselves).

The Dashboard is divided into two main sections. The upper section displays the created Boards —these are the project boards or timelines where we outline our plans and objectives. The lower section showcases Tasks, which represent the stages that make up each Board. Here, you’ll find three tabs: Upcoming Tasks, Overdue Tasks, and Completed Tasks.
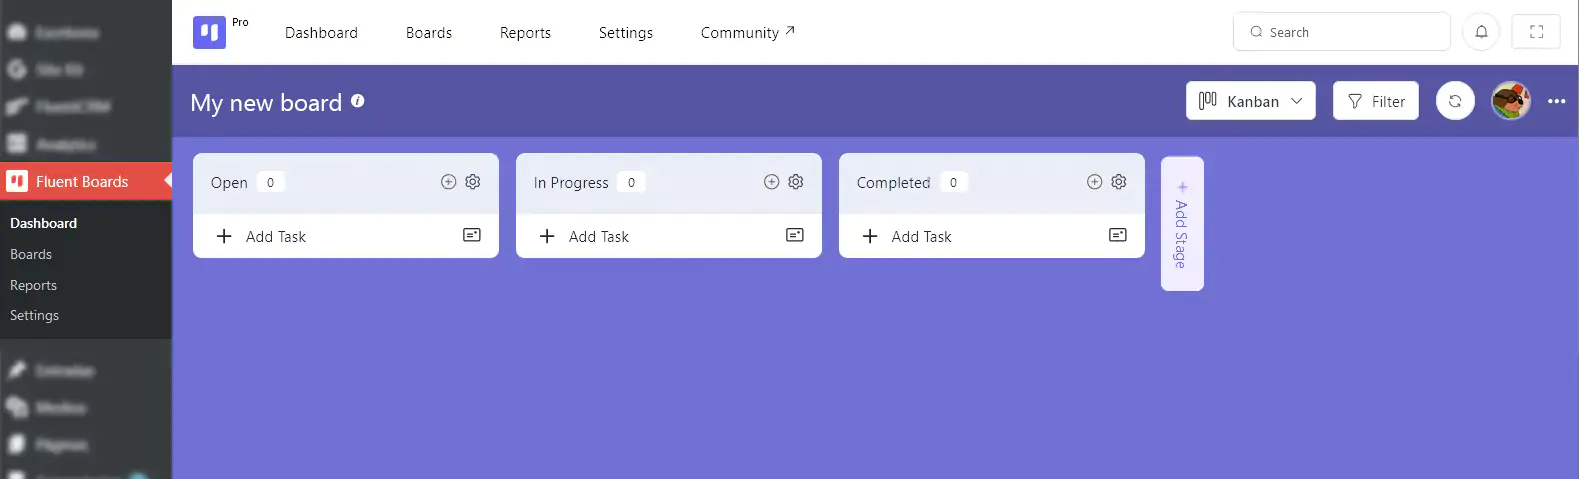
Clicking on a Board reveals its workflow stages, where you can edit existing ones or add new stages.

When creating a Board, three default stages are provided: Open, In Progress, and Completed. Of course, you can delete them, add new ones (using the vertical blue + Add Stage button), or rename them to better suit your project. Simply drag and drop the stages to rearrange them effortlessly. You can also add tasks within each stage by clicking the + Add Task button.
Tasks within each stage (such as Easy Training and Meeting with Trainers in the screenshot) appear in the lower section of the Dashboard. These tasks help break down each stage into actionable steps, making complex goals more manageable and achievable.
Once a Task is created, clicking on it allows you to edit its details. Let’s explore that next:

In the pop-up Task Editing window, you’ll find various fields and buttons to fine-tune your tasks. You can assign people to the task via the Assignees section (and remove or modify them later if needed). You’ll also set a Due Date, specifying the deadline by which the task should be completed.
The Priority setting allows you to classify the task into three levels: High, Medium, and Low, ensuring a clear distinction between urgent and less critical tasks.
By adding Labels, you make it easier to locate the task later using FluentBoards’ built-in search function. For example, if the task involves meetings, an appropriate label could be “Meetings”.
If necessary, you can add a Description by clicking the Pencil icon, and here’s something great—you can also upload attachments. Whether it’s images, location photos, inspiring references, manuals, invoices, or any other relevant documents, everything can be neatly stored within the task.
The + Add Subtask button allows you to break the task down even further, adding smaller objectives that contribute to its completion.
In the Comments section, you (and others) can leave messages, keeping communication fluid. The Activities tab provides a detailed history of all changes and actions taken within the task.
The right-hand column offers useful buttons, such as “Leave Task”, which lets you remove yourself from a task (leaving it to the remaining assignees or unassigned if no one else is listed). The “Move” button is particularly handy—it allows you to either transfer the task to another Board or change its Status, for example, marking it as Completed.

Keep in mind that we can also quickly edit the actions on the Desktop by clicking as shown in the image below:

To create a new Board, simply click the + Add Board button.
A pop-up window will allow you to set a name and description for the new board.

Once you hit the blue “Save” button, the board will appear with the three default stages: Open, In Progress, and Completed.
You can rename these stages by clicking on their names, ensuring they make sense for your specific workflow. Everything else related to board customization follows the same editing principles we covered earlier.
The Reports tab provides insightful statistics on all the activity happening within FluentBoards, helping you track progress and optimize workflow efficiency.

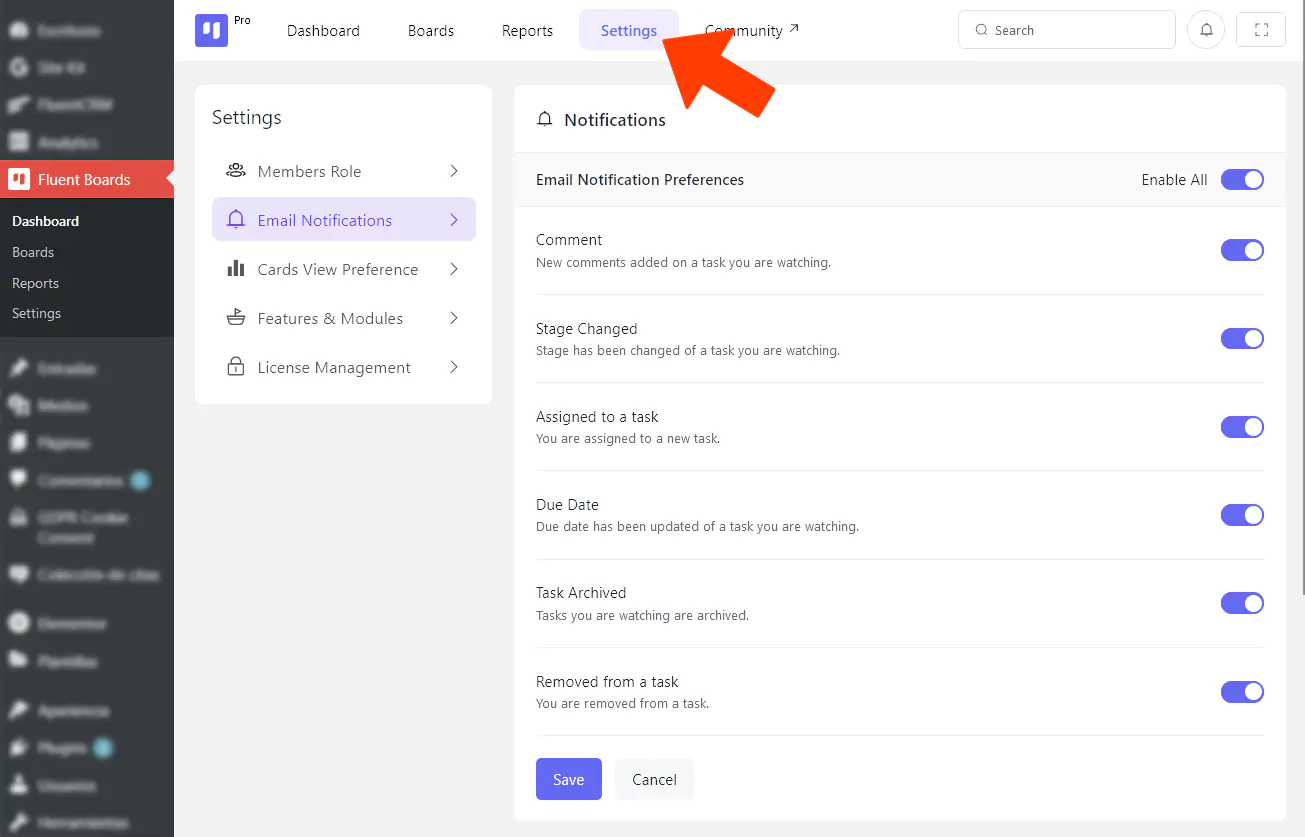
Lastly, in the Settings tab, you can adjust various configurations. These include:
FluentBoards stands out as an exceptional project management solution within WordPress. Its emphasis on simplicity, seamless integration with the platform, and clear task visualization makes it a powerful tool for both team collaboration and personal workflow management.
By eliminating the need for external platforms while still delivering a smooth and intuitive user experience, FluentBoards positions itself as a top choice for anyone seeking efficient project management within their favorite CMS.
You can try an online demo [here].
Additionally, FluentBoards PRO is included for free in our WordPress Site Maintenance plan.
fluentboards pro INCLUDED FOR FREE IN OUR WORDPRESS MAINTENANCE PLAN
We offer assisted and free migration services along with a 30-day satisfaction guarantee